So where do I start? Because this post is so long, I decided to forgo the long introduction and get straight to the point. I really hope that some amazing challahs come out of your ovens. But before I begin, a few words of appreciation.
I learned this basic challah recipe from a rabbi about 15 years ago at a hafrashat challah (challah separating). I really apologize that I don’t remember her name, but that was long before the blog and I never dreamed that the recipe I wrote down in a notebook would become a blog post. In any case, a challah recipe is pretty universal, it is the preparation that makes it amazing and that’s what we’ll focus on this time.
The second and biggest thank yous are for two larger-than-life women. Tal Sivan-Ziporin, an amazing photographer and super smart woman who filmed the video you’ll see below and also edited it (don’t miss it!). Over and over, with a million corrections and back and forth texts, fixes and one final “maybe the subtitles should be a little slower.” In short, a tremendous woman and a true talent. Many thanks!
And the second big thank you to Or Fermon, who is the one making the challah in this video. Or joined Krutit about a year ago and she’s a unicorn; she’s always there and always knows how to make things happen. I hit the jackpot.
And now, let’s get started and let me start with your questions. The ones you sent me on Instagram in the last 24 hours.
Which is better – fresh or dried yeast?
– Whichever you prefer. Note that the ratio is 3:1 in favor of the fresh, so if the recipe says 1 tablespoon of dry yeast and you only have fresh, then put in 3 tablespoons of fresh yeast. The advantage of dry yeast is that it keeps for a long time in a sealed jar.
Which is better – proofing at room temperature or in the refrigerator?
– Oh, that’s a great question 😊 I’ll answer that and then add a reservation. I almost always prefer an overnight rise in the refrigerator; this slow rise strengthens the gluten in the dough. It makes the dough more pleasant to work with because it’s not sticky and it’s also more convenient to knead in the evening, put in the refrigerator and bake when there’s time.
On the other hand, I often forget to prepare the dough at night and then when I feel like making challah I don’t want to wait another day, so I let it proof outside the fridge and it turns out great. You just have to make sure to let it rise in a dark place and not give it heatstroke to speed up the process. Otherwise the chances of over-proofing increases, the dough becomes difficult to roll, and gets wrinkled because of the drop from a high rise to a low one too quickly.
My grandmother makes challah and one time she forgot to add an egg and it turned out fluffier. Right?
– Your grandmother’s mistake shows me, again and again, that eggless challah stays tastier and fluffier. Eggs solidify and stabilize after they cool, so after challah cools, about a day later, they begin to toughen. My recipe has no eggs in the dough itself and you can easily omit the egg in the topping.
I don’t have a mixer – what should I do?
– Knead with your hands. Work exactly according to the recipe instructions, up to adding the ingredients into the bowl, and begin kneading until you get a sticky dough. Turn the dough out onto a greased counter. At this stage, continue kneading while stretching the dough to develop the gluten. In my opinion, the most important thing when kneading by hand is not to knead for 5 minutes and think you’re done; until the dough is even, pliable, smooth and devoid of lumps, it’s not ready. And yes, sometimes that takes 15-20 minutes. Think about it: the mixer does it in 10 minutes, so you can’t possibly be done in less than that. And another small and important tip – don’t stress if the dough is sticky, don’t add more flour. With kneading, the dough slowly strengthens and stabilizes and becomes easier to knead. If it’s hard, stop, let the dough rest for a few minutes and continue.
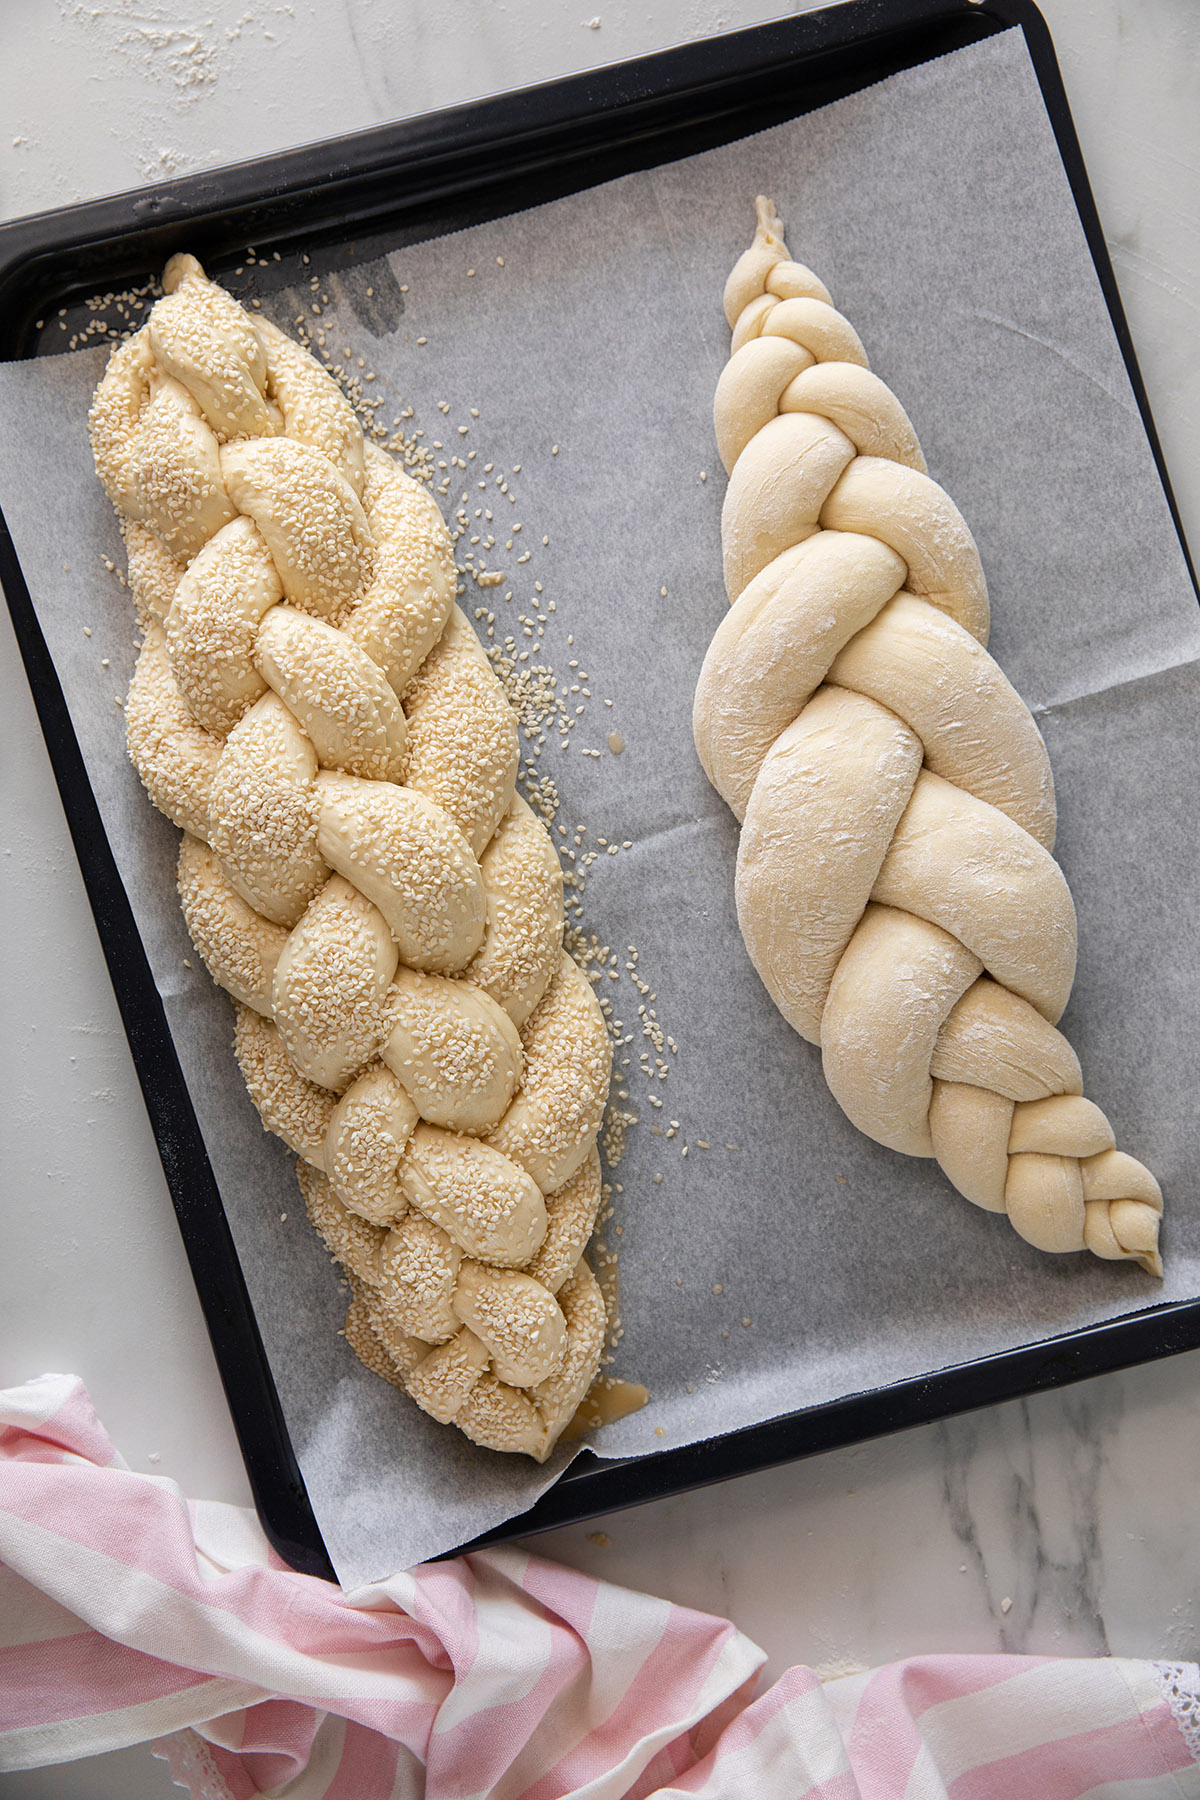
My strips don’t come out well and are always lumpy and uneven in thickness. What should I do?
– I urge you to follow all the instructions exactly, watch the video, and don’t skip any step because it seems unnecessary. I promise that the strips will turn out amazing.
How long should you knead in a mixer and at what speed?
– In total, you should knead between 10-12 minutes on speed 1 or 2 and no more. Kneading at a higher speed heats up the mixer, and the dough, and destroys the motor in home mixers. There is also a greater chance that the dough will rise to the top of the hook. Please do not knead for less than 10 minutes in the mixer.
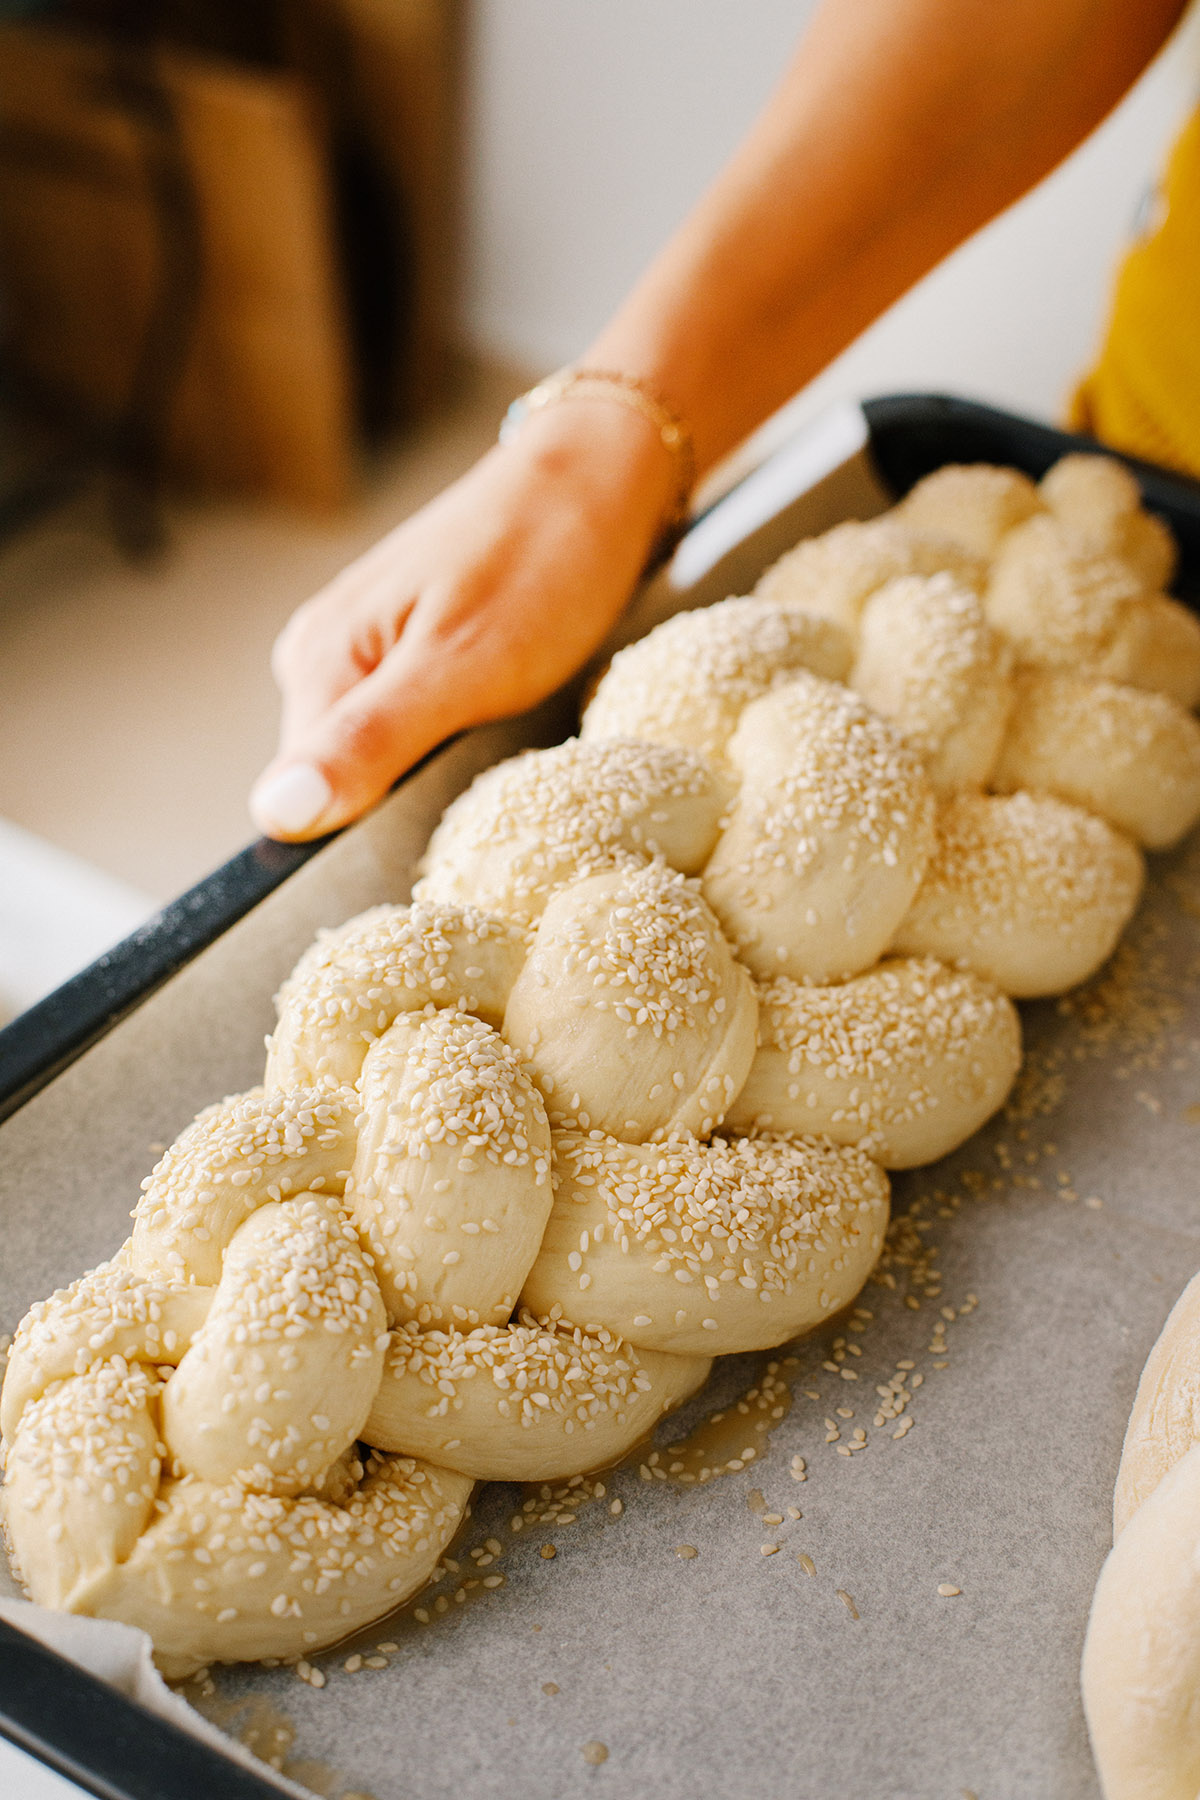
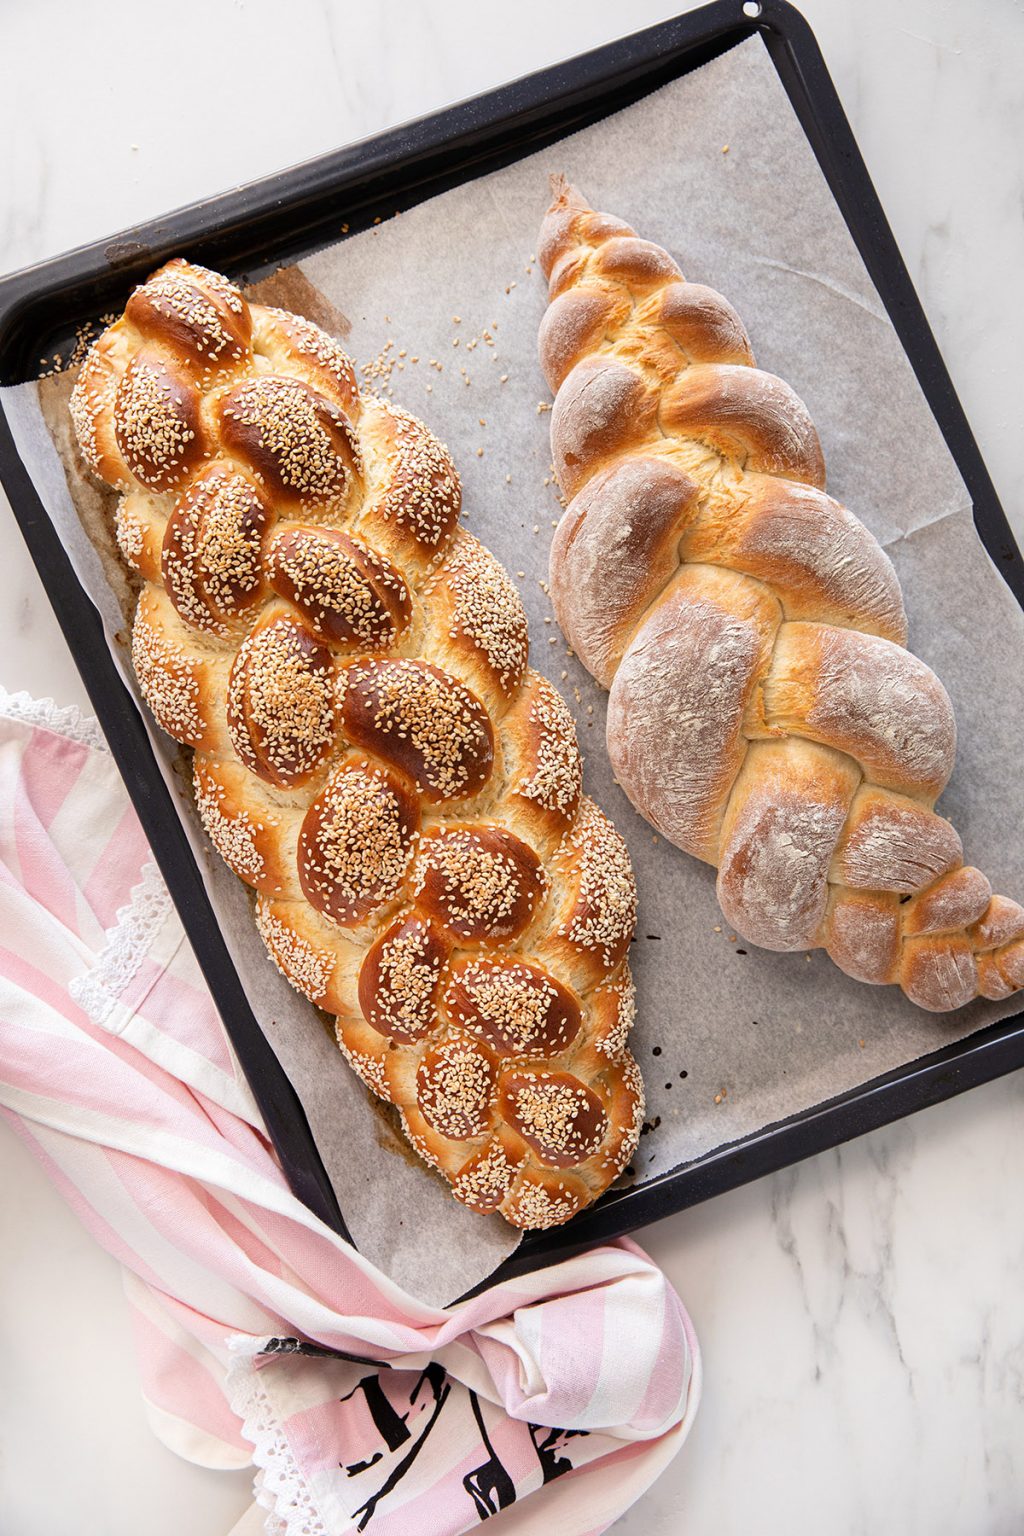
How do I make my challah look professional in terms of shade and color?
– Follow the steps below and it will come out perfect. Note that brushing with egg yolk mixed with water twice will make the challah emerge shiny and beautiful.
I often wonder whether or not I should put 2 challahs in the oven so as not to over-proof the second loaf. What do you recommend?
– The order of operations is as follows. Prepare the strands and when they are ready to braid, braid only the amount of challah you can fit on one tray or a maximum of 2. Prepare the second batch 15 minutes after braiding the first so there are 15-20 minute intervals between proofing, which is the bake time for each challah pan. Did I explain okay or are you still confused?
My dough is sticky – what should I do?
– I think this is the question I get the most when talking about yeasted dough. So I’ll answer in detail. Most of my doughs are sticky. In my opinion, a slightly sticky dough (not wet and not runny in any way) produces airier pastries that last longer because they are more saturated with liquid. So how do you deal with dough like this?
- Let rise in the refrigerator if possible.
- Grease the sides of the bowl with a very little olive oil and let it rise like this. Then the outer coating will be smooth and non-sticky and much easier to work with.
- Keep to the exact amounts in the recipe, and if it turns out very sticky, you can add flour while rolling, just don’t add flour to the dough itself, otherwise it will dry out.
- If the recipe is accurate and you have worked according to the exact quantities many times, the problem is that the dough is not kneaded enough. Dough is more cohesive after sufficient kneading, so don’t stint the process. I put a highlight in my story of sticky dough reels that only needed a few more minutes of kneading.
Do you bake with top and bottom heat or turbo/convection/fan?
– I always bake with top and bottom heat. I rarely use turbo, in my opinion turbo burns baked goods on the outside, but it really depends on your oven. My recommendation is, if you have a standard home oven, always use top and bottom heat because when the cook writes a recipe and specifies a temperature, he means top and bottom heat unless otherwise specified. And speaking of heat, if you know that your oven runs hot and tends to burn things, just set it 10 degrees less than written.
Why does my challah open up during baking and look torn?
– A few options: the dough is not pliable enough (not enough kneading), or it is dry and therefore does not have enough elasticity to stretch, or it was not proofed enough before baking, which is usually the most common reason. Another option is that there was not enough fat in it.
Spelt!
– Wow, I always get a few questions about spelt flour in every post. Treat spelt like regular flour. If you use white spelt flour, it’s exactly the same as in any regular white flour challah recipe. If you use half white, half whole wheat, you can stay with the same proportions. If you use all whole wheat flour of any type, including spelt, I recommend adding a little more water. How much water? About a quarter cup per kilo of flour.
My braid is collapsing, or: over-proofing
– After braiding, there is a tendency to let the challah proof for a long time because you want an airy, tall challah. This is a big mistake because challahs that have risen too much will not withstand it and will collapse or lose proportion. So how much does it rise after braiding? Up to 3/4 of the height of what it was before and during this time make sure that the oven is already preheated to the right temperature. In the summer it takes about 25-35 minutes and in the winter about 35-45 minutes. In any case, if it has risen too much and has doubled in volume, and you touch it and it is like a balloon, you have over-proofed it. What do you do? Put the whole challah back together and repeat all the steps from the beginning. Or bake it like this, at worst it won’t be completely perfect.
My dough is literally tearing when I try to make the strips.
– I really, really urge you to follow the instructions in this recipe. The preparation is tailored to avoid this issue.
Yeast and oil, or: why to follow the exact recipe
– This is not a question, but I’m answering it because it’s important to me. Don’t increase the amount of yeast or add a little more to make it more airy. This will only cause the challah to rise too quickly, collapse because the dough can’t support the expansion, and in general, it’s not good for the dough. The same goes for the oil, it’s important here for elasticity and softness. Don’t skimp on the amount.
And now, get the video we prepared especially for you. Don’t miss it and watch it all ♥
Do you have any more questions? Write to me in the comments or in a private message on Instagram. And another super important thing – if it seems like there are a lot of steps here and you’re a bit stressed out, don’t be, there’s a lot because I explained the reasoning behind everything. After you make it once and understand the logic, it’ll be a cinch.